Sometimes you use a piece of code so much that you just wish that you could hit a button and insert that code. In Flash CS5, Adobe has included code snippets that can be re-used to speed up your programming. To view the snippets, choose Window->Code Snippets.
Let’s make the world’s simplest game!
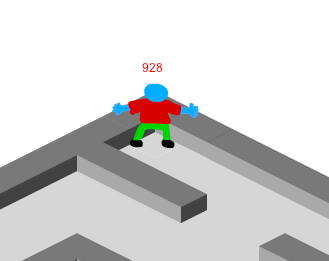
To test it out, create a movie clip symbol and put it on the stage. With the symbol selected on the stage, open up the code snippets and select Animation->Move with Keyboard Arrows. Flash will ask you if you want it to make the symbol an instance.
Yes. Yes, you do.
Test the movie and run it. Move the symbol instance with your keyboard arrows. Take it one step further and edit the action layer in the timeline to adjust variables like speed.
Check out the Event Handlers->Key Pressed Event for some extra fun.